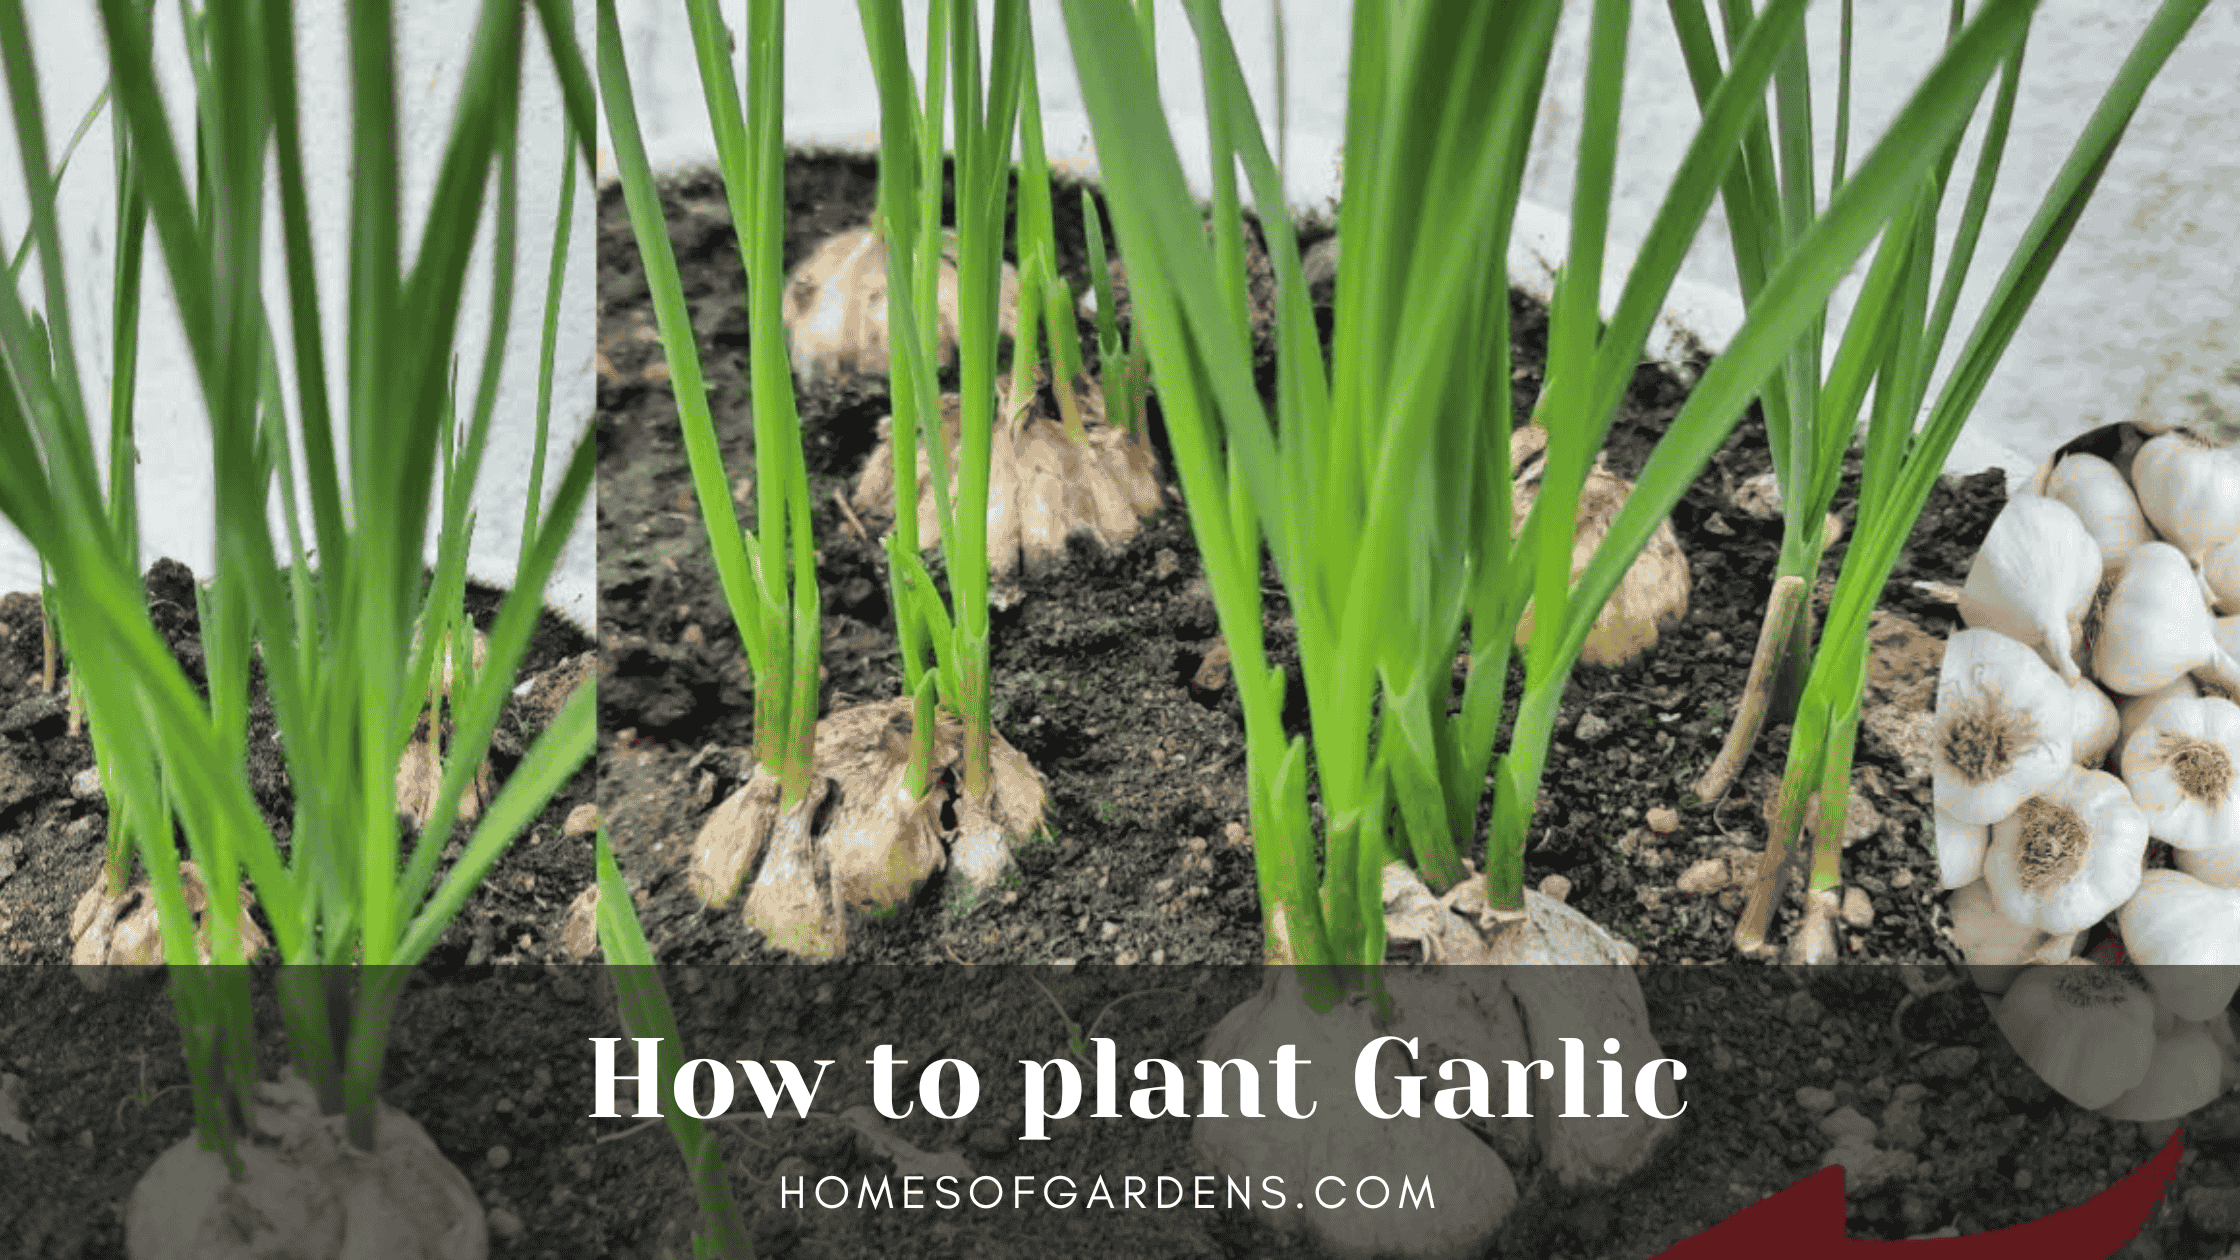
Garlic is an enjoyable and relatively easy plant to grow. It offers an enticing, fresh flavor that bulbs purchased from a store not compared to. If you have a huge garden or just a small container for your patio, it is possible to successfully cultivate your own garlic. This guide will teach you all necessary to be aware of from selecting the best garlic to harvesting and storing the garlic you grow at home. We’ll guide you through each step, making sure you know how to plant, cultivate and enjoy this essential ingredient in your kitchen.
An Introduction to Planting Garlic
Growing garlic can be a rewarding experience that starts with one clove, and is followed by a huge and delicious bulb. In contrast to other crops that are grown, garlic is usually grown in the fall, and harvested during the following summer. The extended growing season permits the plant to develop strong roots throughout the colder months, which leads to a strong growth once spring arrives.
The procedure is simple. It is as simple as separating one garlic bulb into several cloves, then planting them point-side up in a well-prepared soil. Over the course of a few months each clove will transform into a bulb composed of a number of cloves. If you pay a little attention and careful timing, you can grow the entire year’s supply of garlic in your own garden.
When to Plant Garlic: Timing is Everything
The most important factor to an effective harvest of garlic is ensuring that you plant at the correct timing. For the vast majority of regions, fall is the perfect time for growing garlic.
Fall Planting (The Preferred Method)
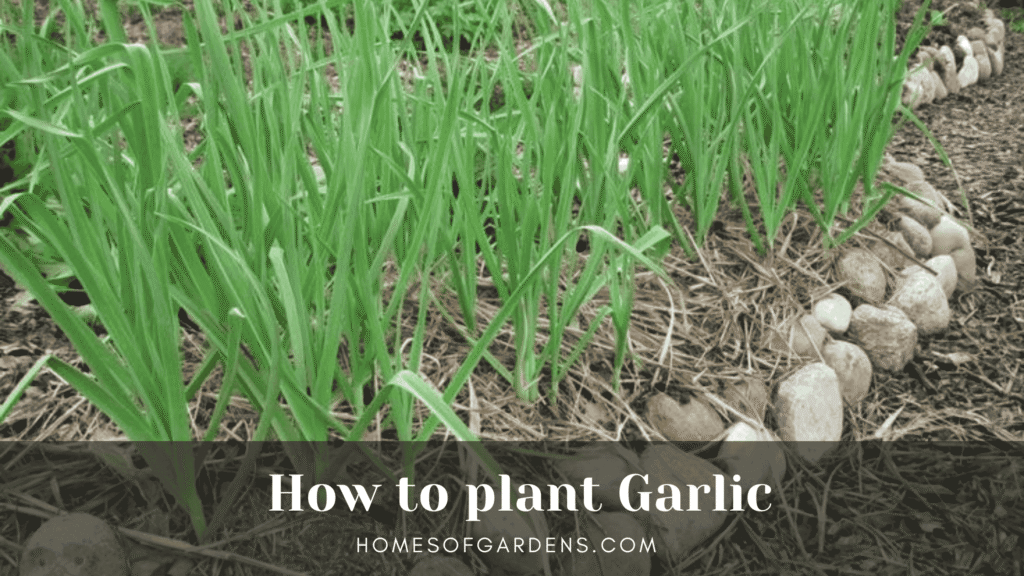
The planting of garlic in autumn generally from September to November provides the garlic with an early head beginning. The garlic will benefit from the cool autumn weather to establish a sturdy root system prior to the time when the ground gets frozen. When spring comes around the established root system stimulates the growth of leaves at a rapid rate that in turn will result in bigger, better mature bulbs.
A common rule of thumb is that you plant garlic bulbs between 4 and 6 weeks before the ground is completely frozen. The timing will differ based on your climate zone.
In colder climates (Zones 3-5): Aim for late September to mid-October.
In moderate climates (Zones 5-7): Plant from mid-October to late November.
In warmer climates (Zones 7-9): You can plant as late as December or even January.
Fall planting provides the necessary cold period, known as vernalization, which many garlic varieties require to properly form bulbs.
Spring Planting (An Alternative)
If you don’t have time to plant during the time for planting in fall, spring planting is an option, but it typically produces smaller bulbs. It is recommended to plant when the soil is able to work in spring, after the risk of hard frost has gone away.
The spring-planted garlic can have a shorter growing time. Since it doesn’t experience the time to cool down long enough to grow roots, the finished bulbs might not be as big or completely divided into distinct cloves. When planting for spring it’s recommended to pick softneck varieties as they’re less reliant on exposure to cold.
Choosing the Right Garlic Variety
There are many garlic varieties, however they generally fall into two major categories: softneck and hardneck. Knowing the distinction is crucial in deciding on the most suitable kind for your garden and your food preparation requirements.
Hardneck Garlic (Allium sativum var. ophioscorodon)
Hardneck garlic is so named because it produces a rigid, woody central stalk called a “scape.” This scape grows from the center of the bulb and, if left to mature, will produce a flower-like top called an umbel.
Flavor: Hardnecks are known for their rich, complex, and often spicy flavors. They are a favorite among chefs and garlic connoisseurs.
Cloves: They typically produce fewer, larger cloves (usually 4 to 12) arranged in a single layer around the central scape. The cloves are generally easier to peel.
Climate: Hardneck varieties are very cold-hardy and thrive in regions with harsh winters. They require a period of cold exposure to develop bulbs properly.
Storage: They have a shorter storage life than softnecks, typically lasting 4 to 6 months.
Bonus Harvest: The edible flower stalk, or scape, can be harvested in late spring and used in cooking. It has a mild garlic flavor perfect for pesto, stir-fries, or grilling.
Popular hardneck types include Porcelain, Rocambole, and Purple Stripe.
Softneck Garlic (Allium sativum var. sativum)
Softneck garlic is the type most commonly found in supermarkets. It has a soft, pliable neck that can be braided, which is why you often see decorative garlic braids.
Flavor: Softneck flavors are generally milder and less complex than hardneck varieties.
Cloves: They produce more cloves per bulb (often 12 to 20 or more) arranged in multiple layers. The inner cloves are typically smaller than the outer ones.
Climate: Softneck varieties grow best in milder climates with less severe winters. They do not require a long cold period to form bulbs, making them suitable for spring planting as well.
Storage: This is their biggest advantage. Softnecks can store for 9 to 12 months under proper conditions, making them ideal if you want a year-round supply.
Braiding: The flexible stems make them perfect for creating traditional garlic braids for curing and storage.
Popular softneck types include Artichoke and Silverskin.
A note about Elephant Garlic: While it appears to be a huge version of garlic, garlic (Allium ampeloprasum) is actually a kind of leek. It produces huge mild-flavored cloves. It is cultivated in the same manner as normal garlic.
Preparing the Soil for Planting
Garlic is a heavy feeder and requires rich, well-drained soil to thrive. Proper soil preparation is a crucial step that will pay dividends at harvest time.
Choose the Right Location
Pick a location for your garden which receives at minimum 6-8 hours of sunlight directly each day. A good exposure to sunlight is vital to photosynthesis which is the process that drives bulb growth. Avoid areas where the water tends to drench because garlic roots can get rotten in moist soil.
Amend the Soil
Garlic performs best in loose, loamy soil with a slightly acidic to neutral pH (6.0 to 7.0).
Loosen the Soil: Use a garden fork or tiller to loosen the soil to a depth of at least 8 to 12 inches. This allows the roots to grow deep and the bulbs to expand easily.
Add Organic Matter: Garlic is a heavy feeder. Incorporate a generous amount of compost or well-rotted manure into the top 6 inches of your soil. This improves soil structure, drainage, and provides essential nutrients. A good starting point is to add a 2 to 3-inch layer of compost over the planting area and work it in.
Ensure Good Drainage: If you have heavy clay soil, add compost and sand or perlite to improve drainage. Alternatively, consider planting in raised beds, which provide excellent control over soil composition and drainage.
Step-by-Step Planting Guide
When your soil is ready as well as you’ve got your seeds ready, you can plant. Choose only top-quality seeds from a garden or online retailer. Do not plant garlic in the supermarket, since it could be treated to stop the sprouting process and may carry a variety of diseases.
Separate the Cloves: A day or two before planting, carefully break apart the garlic bulbs into individual cloves. Leave the papery husk on each clove, as this protects it. Use the largest, healthiest cloves for planting, as bigger cloves generally produce bigger bulbs. Set the smaller cloves aside for cooking.
Position the Cloves: Dig individual holes or a trench about 2 to 4 inches deep. The colder your climate, the deeper you should plant. A good rule is to plant cloves two to three times as deep as their height.
Spacing: Place the cloves in the holes with the pointed end facing up and the flat, root end facing down. This is critical—planting upside down will force the sprout to loop around, wasting energy and stunting growth. Space the cloves 4 to 8 inches apart within the rows. Spacing rows 12 to 18 inches apart will provide ample room for growth and weeding.
Cover and Water: Backfill the holes or trench with soil, gently firming it down. Water the bed thoroughly to settle the soil and encourage root development.
Mulch: Apply a 4 to 6-inch layer of mulch, such as straw, shredded leaves, or grass clippings, over the planting area. Mulch helps to suppress weeds, retain soil moisture, and insulate the cloves from harsh winter temperatures. In the spring, it will keep the soil cool as temperatures rise.
Caring for Your Garlic Plants
Garlic is relatively low-maintenance, but a few simple tasks throughout the growing season will ensure a healthy crop.
Watering: Water your garlic bed deeply but infrequently. Aim for about one inch of water per week during the spring growing season. Reduce watering as the leaves begin to yellow in early summer, and stop watering completely about two weeks before harvesting to allow the bulbs to cure.
Weeding: Keep the garlic patch free of weeds. Weeds compete for nutrients, water, and sunlight, which can significantly reduce the size of your bulbs. Mulching will greatly reduce your weeding duties.
Fertilizing: If you amended your soil well before planting, you may not need additional fertilizer. However, for an extra boost, you can apply a nitrogen-rich fertilizer (like blood meal or a balanced organic liquid feed) two or three times in the spring when the green shoots are actively growing. Stop fertilizing by early June, as excess nitrogen late in the season can hinder bulb development.
Harvesting Scapes (Hardnecks Only): In late spring or early summer, hardneck varieties will send up a central stalk called a scape. When the scape has formed one or two curls, cut it off near the base. Removing the scape redirects the plant’s energy from flower production to bulb growth, resulting in larger bulbs. Scapes are a delicious bonus harvest!
Harvesting and Storing Garlic
Knowing when to harvest is key to getting bulbs that will store well.
When to Harvest
Garlic is typically ready for harvest from late June to early August, depending on your climate and the variety. Look for these signs:
The lower leaves will start to turn yellow and brown.
The tops will begin to fall over.
A good rule is to harvest when about one-third to one-half of the leaves have yellowed, but while there are still 5-6 green leaves remaining. Each green leaf represents a protective wrapper layer around the bulb.
To check if a bulb is ready, gently dig up one or two. The bulb should be well-formed, and the cloves should be plump and fill the wrapper.
How to Harvest
Loosen the soil around the bulbs with a garden fork, being careful not to pierce the garlic.
Gently pull the plants out of the ground by their stems.
Brush off any excess soil, but do not wash the bulbs.
Curing and Storing
Curing is the process of drying the garlic, which is essential for long-term storage.
Bundle and Hang: Gather the harvested plants into bundles of 5-10 and hang them in a well-ventilated, shady, and dry location, such as a garage, shed, or covered porch. You can also lay them out on screens or racks. Keep them out of direct sunlight.
Cure for 2-4 Weeks: Let the garlic cure for several weeks, or until the wrappers are papery dry and the necks are constricted and tight.
Prepare for Storage: Once cured, trim the roots close to the bulb and cut the stems about 1-2 inches above the bulb. For softneck varieties, you can leave the stems long for braiding.
Store Properly: Store your cured garlic in a cool, dark, and dry place with good air circulation. A pantry, cellar, or cool closet is ideal. Avoid storing it in the refrigerator. Properly cured hardnecks will last up to 6 months, while softnecks can last up to a year.
Common Mistakes to Avoid
Planting at the Wrong Time: Planting too early in the fall can lead to excessive top growth that gets damaged by winter cold. Planting too late can prevent strong root establishment.
Using Grocery Store Garlic: This garlic may be treated to inhibit sprouting and is not certified to be disease-free. Always buy seed garlic from a reputable source.
Not Providing Enough Sun: Garlic needs full sun. Shady spots will result in small, underdeveloped bulbs.
Poor Drainage: Garlic hates “wet feet.” Soggy soil will lead to rot and disease. Amend your soil or use raised beds to ensure excellent drainage.
Harvesting Too Early or Too Late: Harvesting too early results in small bulbs, while harvesting too late can cause the bulbs to split open in the ground, making them vulnerable to rot and reducing their storage life.
Following these steps, you’ll be already tasting the incredible flavor of fresh garlic. It’s a straightforward, satisfying process that connects you in your kitchen and gives your kitchen an amazing taste.
Conclusion
Growing garlic at home is a rewarding process that empowers you to enjoy fresher, more flavorful bulbs straight from your garden. By paying careful attention to timing, choosing the right variety, and following best practices for planting, care, and harvesting, you’ll ensure a bountiful and reliable garlic crop year after year. Whether you’re a beginner or seasoned gardener, these simple steps will help you cultivate healthy garlic and savor the results in your kitchen long after harvest.
Planting at the Wrong Time: Planting too early in the fall can lead to excessive top growth that gets damaged by winter cold. Planting too late can prevent strong root establishment.
Using Grocery Store Garlic: This garlic may be treated to inhibit sprouting and is not certified to be disease-free. Always buy seed garlic from a reputable source.
Not Providing Enough Sun: Garlic needs full sun. Shady spots will result in small, underdeveloped bulbs.
Poor Drainage: Garlic hates “wet feet.” Soggy soil will lead to rot and disease. Amend your soil or use raised beds to ensure excellent drainage.
Harvesting Too Early or Too Late: Harvesting too early results in small bulbs, while harvesting too late can cause the bulbs to split open in the ground, making them vulnerable to rot and reducing their storage life.
By following these steps, you are well on your way to enjoying the unparalleled taste of homegrown garlic. It is a simple, rewarding process that connects you to your food and fills your kitchen with incredible flavor.